Problem
Many things have changed with SQL Server 2005 and one of these changes is the replacement of SQL Mail with Database Mail. This is a good thing, because SQL Mail relied on having a MAPI mail client installed such as Outlook in order for it to work. With SQL Server 2005, this has changed and now the mail services use an SMTP server to send out emails which makes it a whole lot easier to setup and maintain. So how do you setup Database Mail?
Many things have changed with SQL Server 2005 and one of these changes is the replacement of SQL Mail with Database Mail. This is a good thing, because SQL Mail relied on having a MAPI mail client installed such as Outlook in order for it to work. With SQL Server 2005, this has changed and now the mail services use an SMTP server to send out emails which makes it a whole lot easier to setup and maintain. So how do you setup Database Mail?
Solution
There are two ways that you can setup Database Mail, either by using the stored procedures that are included with SQL Server 2005 or by using SQL Server Management Studio. For this exercise we will walk through how to setup Database Mail by using the GUI.
There are two ways that you can setup Database Mail, either by using the stored procedures that are included with SQL Server 2005 or by using SQL Server Management Studio. For this exercise we will walk through how to setup Database Mail by using the GUI.
To setup Database Mail, connect to your server and expand the Management node of the tree and then right click on "Database Mail".
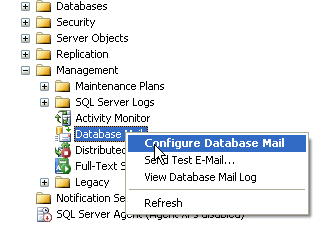
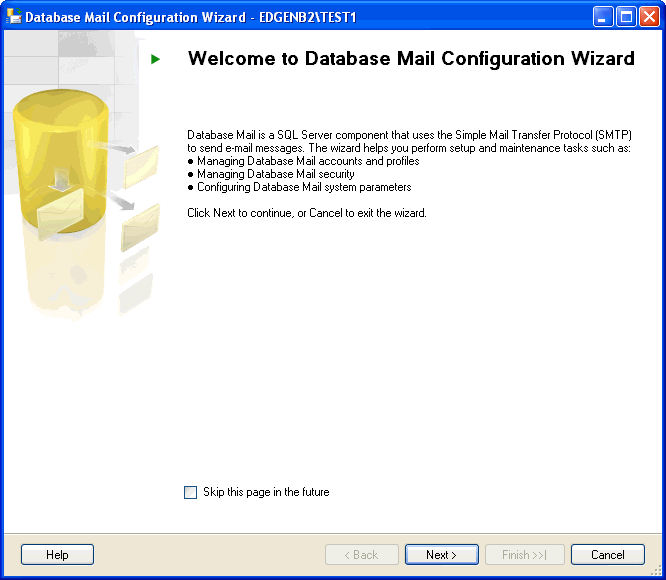
Then select "Configure Database Mail' and you will get the following welcome screen and the click "Next".
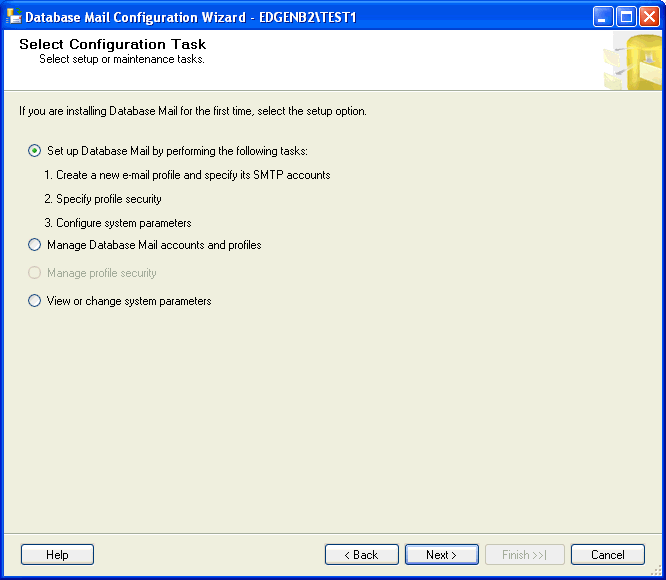
The following screen will appear and select "Set up Database Mail by performing..." and click "Next".
If Database Mail has not been enabled, you will get this following screen. Just click "Yes" to enable it. If it has already been enabled this screen will not appear.

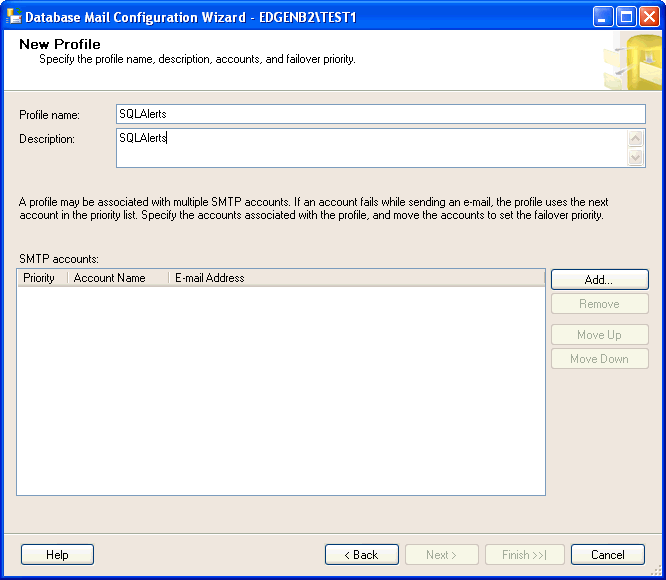
Enter in a name for the Profile and also a description and click "Add..."
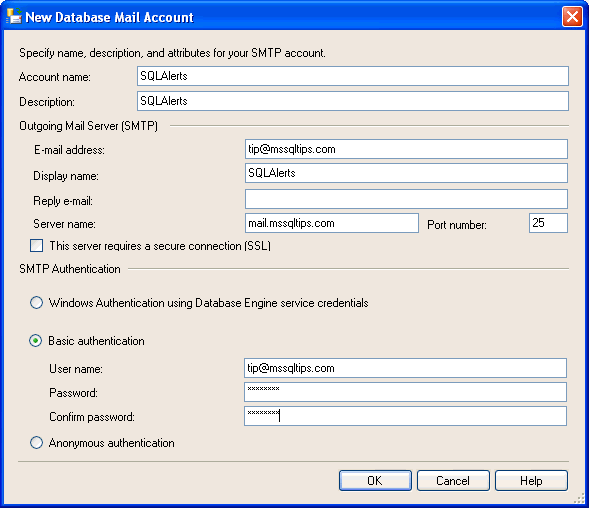
The following screen will appear. Fill out the details for your mail account that will be used to send out email from SQL Server. When you are done click "OK".
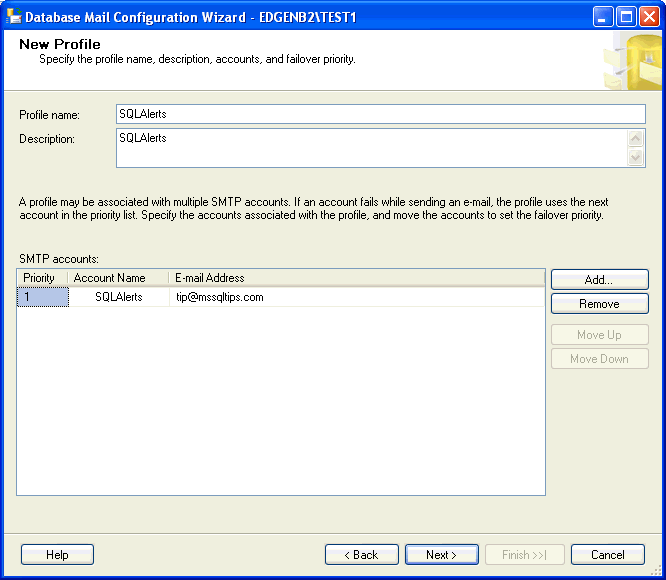
After you click "OK" you will be brought back to this screen and the SMTP details will now show for the account you just setup. Click "Next" to continue.
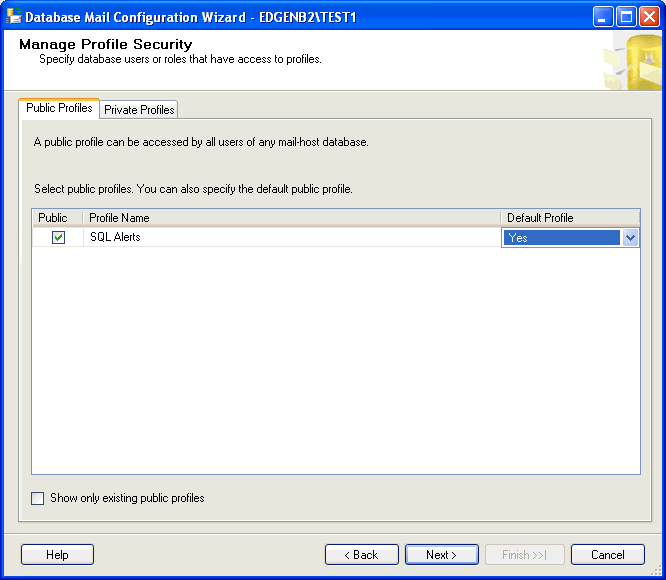
On the next screen you will see the name of the profile that you just setup. Click on the checkbox to allow this to be a Public profile and also select "Yes" for the default profile and then click "Next".
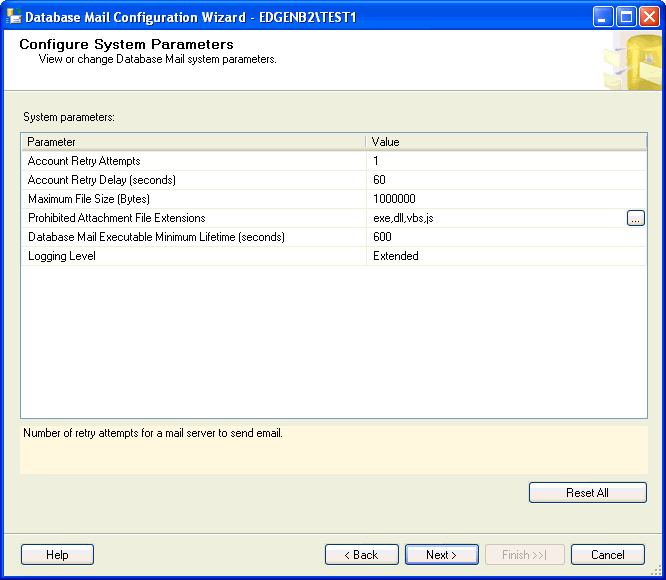
The following screen has some additional parameters that can be set to control how mail is sent. You can make changes or leave the defaults. When you are done click "Next".
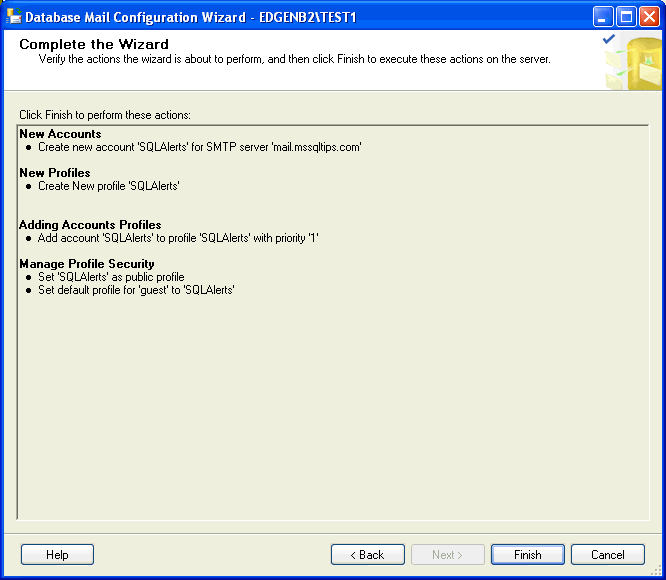
A summary screen will appear that shows you all of the options that were selected. If everything is correct click "Finish" or click "Back" to go back and make changes.
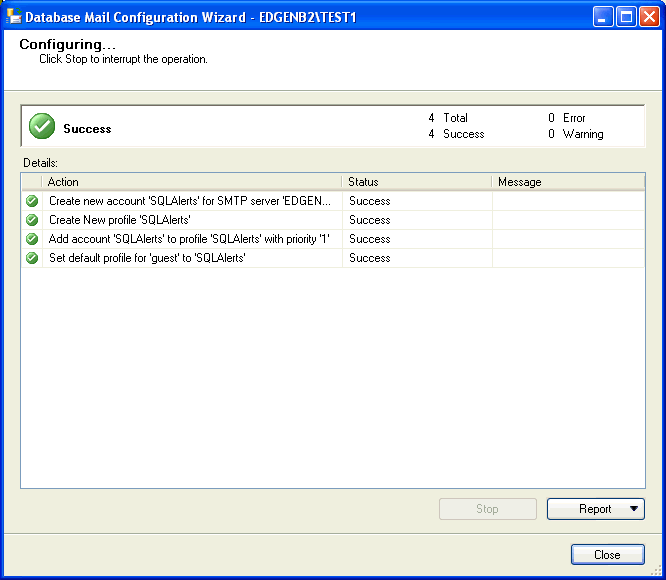
When you click "'Finish" the next screen will appear that shows you the status of installing Database Mail. When this has finished just click "Close" to close this screen.
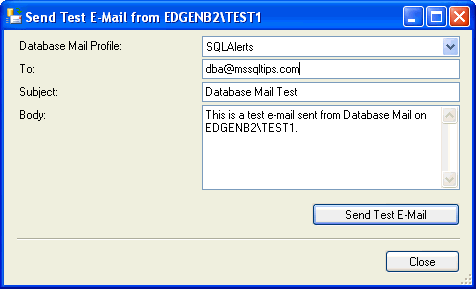
To test Database Mail, right click on Database Mail and select "Send Test E-Mail".

Fill in a "To:" email address and change the body of the email if you want and then click "Send Test E-Mail".
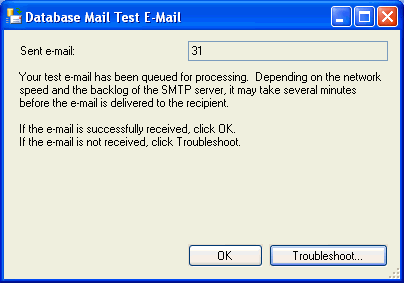
After you have sent the email you will get this message box to confirm if the email was received or not. If it was you can click "OK" to close the screen or click "Troubleshoot" which will launch the help information to see what the issue may be and how it can be resolved.
That's all there is to it. As I mentioned before this can also be setup by using stored procedures. To look at this approach take a look at this article Database Mail in SQL Server 2005.
Next Steps
- Setting up Database Mail is not that complicated and it is much easier then SQL Mail. Take the time to see how this new approach to mail can work in your environment
- After you setup Database Mail don't forget to setup your operators, alerts and SQL Agent alert settings
No comments:
Post a Comment